If you want to dramatically change a photo with just one simple step, there's nothing here that compares to converting it to black and white. By converting to grayscale, you can also save an image that cannot be helped by color correction, or make more beautiful than a man, who needs to seriously whiten his teeth or take care of his own skin. These problems almost disappear when you enter the black and white kingdom.
But does this mean that you need to set your digital camera to black and white shooting mode? No no and one more time no! It is much better to shoot in color and then desaturate the images in Photoshop. In this case, you get a huge number of possible creative solutions, for example, the effect of partial desaturation, achieved by desaturating not the entire picture. And while I'm on the topic of color, Photoshop has several tools that let you change the color of everything from your car to the hair on your head. In addition, you can give new life old photographs by adding color to them.
You've probably heard the expression “How we get paid is how we work!” In Photoshop, this expression is converted to "Most quick way- not always the best". In other words, for some techniques - these include converting a color image to black and white- you will have to spend a little extra time, but the result is worth it.
Let me explain with an example. Open a color image. I'll take Daska's photo.
Select the menu command Image => Correction => Desaturate (Image => Adjustments => Desaturate).
Desaturation means removing all the colors from an image.

Photoshop has no problem converting an image to black and white, but the result is unlikely to inspire you.
2. Create a “Black and White” adjustment layer.
Open the palette Correction, selecting the menu item Window => Correction (Window => Adjustments), and click on the Black & White layer icon (looks like a rectangle, diagonally divided into black and white halves).

Photoshop will turn the image into black and white and display several sliders and other controls in the palette that you can use to fine-tune the created layer.
3. Move the sliders until you get a high-contrast black and white image.
Although the program has desaturated the image, there is still room for improvement. Move the sliders various colors to make the objects in the image look even better. Moving to the right colors areas that were previously colored with the slider's color a lighter shade of gray; moving left colors areas more dark shade grey.


There's also a ton of preset settings in the drop-down list at the top of the palette—select items from the list one at a time to see how they affect your photo. If you click the Auto button, Photoshop will show you what it thinks your grayscale image should look like.
4. Save your photo in PSD format if you want to edit it later.
Lightning touch up
You probably already noticed the Tint checkbox at the top of the Adjustments palette when you created the Black and White adjustment layer. If you check this box, the program will add to the entire image brown tint(called sepia tone). If you want to use a different color, click on the colored square to the right of the checkbox to open the color selection dialog box. This technique allows you to create so-called false two-tone images.

Channel Mixer adjustment layers
Using Black and White adjustment layers is the fastest and easiest way to desaturate images, but layers can also be used for this purpose. They have no advantages over adjustment layers.
First, make sure the Background layer (or the image layer you want to work with) is selected in the Layers palette, then click the half-black, half-white circle button at the bottom of the palette and select team Channel Mixer. When the Adjustments palette opens, select the checkbox Monochrome at the top of the palette, and then move the sliders Red, Green and Blue, as you like, or choose one of the ready-made presets from the drop-down list at the top of the palette.

If you want to darken or lighten the entire image, move the Constant slider at the bottom of the palette left or right.

Channel "Brightness"
As noted in the article about, Lab mode got its name from the names of three channels. The letter "L" stands for the Lightness channel, in which the program stores all the light values and thus all the visible edges and details of the image. (The letters “A” and “B” stand for channels a and b, which store color information.) This means that the Brightness channel, taken separately from the rest, is a black-and-white version of the image.
To see what the channel looks like, open the image and select Image => Mode => Lab from the menu. In the Channels palette, highlight Brightness. If you like the resulting image, select Image => Mode => Grayscale from the menu and click OK when Photoshop asks for permission to remove the color information.

In my case it turned out too bright and pale. This option is not suitable, but you need to know about it. It will look different in different photographs.
Converting to grayscale in the Camera Raw plug-in
If you take pictures in Raw, then you can also use an external module to convert them to grayscale. This module is easy to use and also performs conversions well. To open an image in this format, double-click its file icon and it will automatically open in Camera Raw.
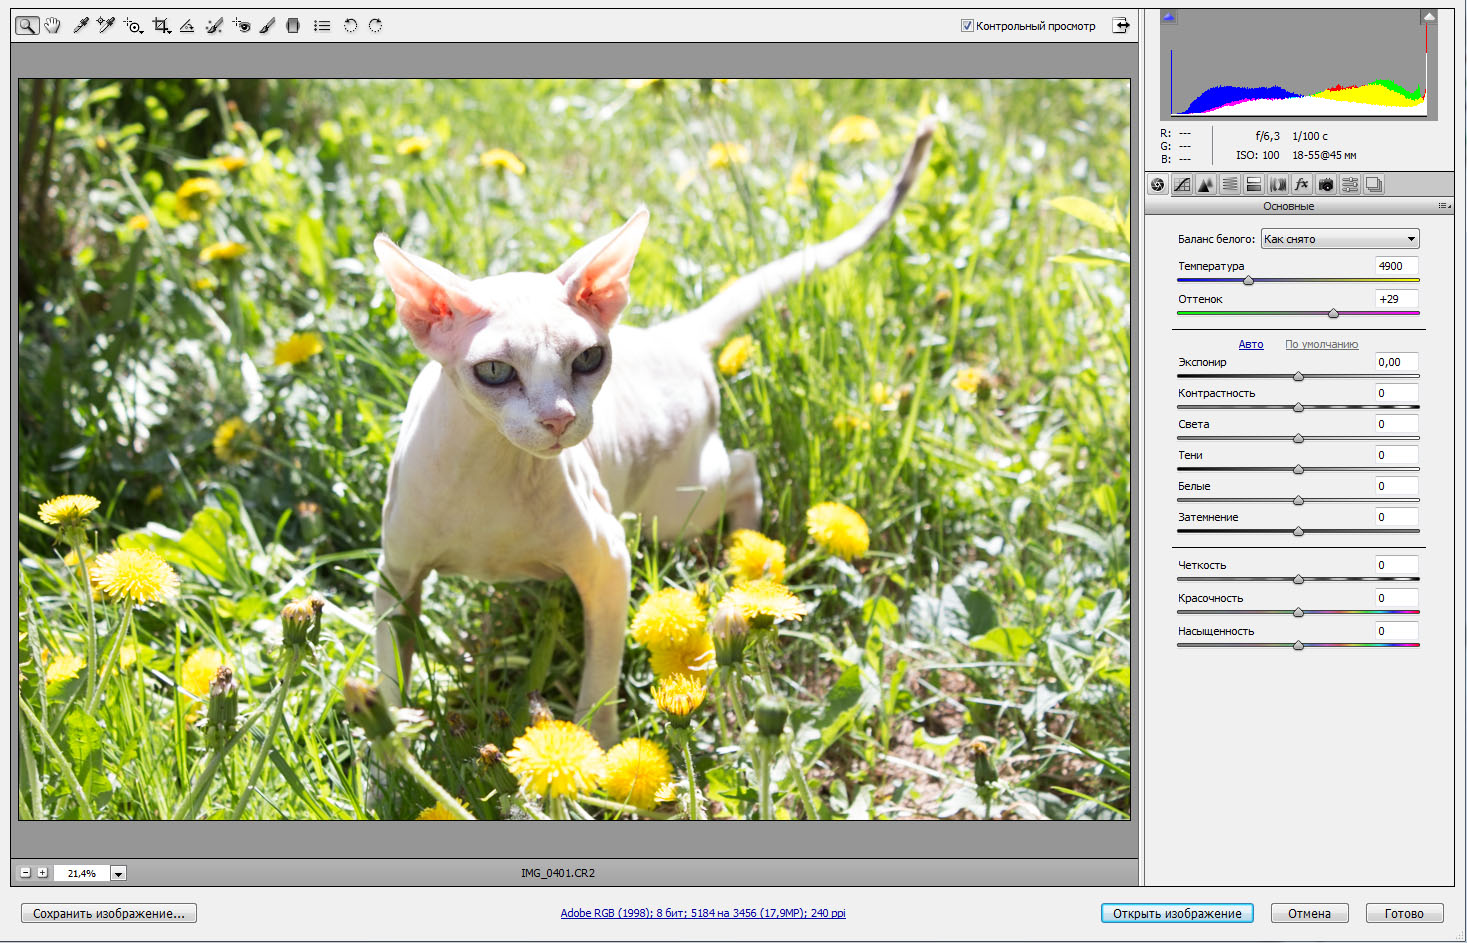
1. In the Camera Raw window, open the HSL/Grayscale panel.
To open this panel, click on the button of the same name. Then in this panel, check the box Convert to Grayscale. A group of sliders appears on the right side of the Camera Raw window. To add contrast to an image, you can lighten a color by moving its slider to the right, or darken it by moving the slider to the left.

2. Open the Basic panel and move the Exposure slider to adjust the black and white image. Also move the sliders with various other settings in this tab and you will be pleasantly surprised at how your black and white photo will sparkle!

Even dandelions began to look like dandelions!
If you notice an error in the text, select it and press Ctrl + Enter. Thank you!
There are many ways to do it black and white photo in Photoshop, from simple ones in two clicks to complex ones. Among the complex methods is working with the color of a photograph to achieve the desired contrast or softness of a black and white photograph.
The video shows 5 options for making a photo black and white in Photoshop CS6 (under the video are instructions for earlier versions of Photoshop):
1. How to take a black and white photo using Hue/Saturation
The easiest way to desaturate a photo in Photoshop. By simultaneously pressing the Ctrl+U keys, we call up the Hue/Saturation settings window, where the Saturation parameter is responsible for color saturation, so we remove it accordingly. The result can be seen below.
2. Like Grayscale
For real the simplest way make a photo black and white in one click. In the top menu select Image=>Mode=>Grayscale. The result is almost identical to the previous method, see photo below.

3. How take a black and white photo using Channel Mixer...
One of the most the right ways make the photo black and white. Similar to color filters, when photographing on black and white film, it allows you to play with shades in Photoshop.
Let's take a closer look, in the top menu - Image=>Adjustment=>Channel Mixer. In the settings window, in the lower left corner, check the box next to Monochrome. Next, turn the knobs for each of the three color channels to obtain the desired contrast and shades. There is one rule here: the sum of the values of all color channels must equal 100. Below I have given an example with the results of three “rough” settings.

4. How take a black and white photo using Gradient Map
A method of converting a photo into black and white with increased contrast. In the top menu of Photoshop, select Image => Adjustments => Gradient Map. By changing the smoothness of the gradient flow from black to white, we get its “reflection” in the contrast of the photograph. It's very interesting to play with shades here.

5. How take a black and white photo usingMixed method.
The most sophisticated way to make a photo black and white. As you already understand, the shades and contrast of a black and white photograph, when transferred from color to Photoshop, can be adjusted by the color settings of the color photograph. The translation method with adjustment layers has distinctive flexibility. To do this, create adjustment layers in the following sequence (from bottom to top):
- Hue/Saturation (when setting the Hue parameter, it changes the tone of the colors, which will subsequently affect the hue in black and white, also do not forget about the Saturation parameter - color saturation)
- Selective Color (selective color adjustment)
- Gradient Map (translation into black and white of the color image obtained using the previous settings)
- Curves (shade control, Overlay layer blending type, set in the Layers window, F7 key)

This method is as flexible as possible; showing examples is pointless.
Without a doubt, Photoshop is largely aimed at making the images and photographs loaded into it brighter and more contrasting. However, as many users exist, so will the requests they make. And if any other editor cannot cope with even a tenth of these requests, then nothing is impossible for Photoshop!
One of the frequent requests of users today is to convert a color image to black and white. Undoubtedly, a desaturated image sometimes looks much deeper than a bright image, which is why it is incredibly popular. Fortunately, there are a lot of ways to do this, I suggest you get acquainted with the most popular ones, and finally learn how to make a picture black and white in Photoshop.
The easiest ways
Conditionally possible ways Discoloration of pictures can be divided into two groups: those that lie on the surface and those that not every user knows about. By the way, I'm using Photoshop CS6, but the tools I use are also available in earlier versions. Which version is better for beginners has already been described here.

As you can see, both methods are very easy to implement in practice, and do not require special knowledge. However, there are some nuances that need to be taken into account, namely that the image turns out very dim, it has low contrast, but this parameter is so important for a b/w photo! If you, like me, are not satisfied with the resulting image quality, I offer another option on how to improve it.
More complicated way
We will again work with the “Image” section: so, click on it, in the drop-down menu find the “Hue/Saturation” item. A new window will open in front of you, in which you need to find the Saturation field, and then move the slider to left side all the way until the value reaches -100. As you can see, the image has turned from color to black and white, but at the same time, it has not lost its depth, and therefore, its contrast too. By the way, from this photo you can
A black and white photo contains a certain mystery. Sometimes such photographs can say much more than color ones. Black and white portraits look very stylish. You can refresh your photo album without new photo shoots by simply making a black and white photo in Photoshop from the color ones you already have. But it also happens that you need to make a photo in color. For example, you need to paint an old portrait. So how do you turn a black and white photo into color?
After we look at ways to turn color photos into black and white with using Photoshop, we will do the opposite. You will learn how to do color photo from black and white in Photoshop.
How to make a black and white photo in Photoshop
As with any other photo manipulation, in the case of the black and white effect there are easy and quick methods and slightly more complex options.
First, let's look at a quick way to turn a color photo into black and white. The next one will show you how to make a black and white photo more impressive by using customizable special effects.
In order to compare and evaluate the methods of turning a color photograph into black and white, let's try them on the same portrait.
Fast way
Select a photo and open it in Photoshop. Go to the layer with the image and duplicate it by pressing the keyboard shortcut Ctrl+J.

In the main menu, select the item “Image” / Image - “Correction” / Adjustment - “Desaturate” / Desaturate, or easier, keyboard shortcut Shift+Ctrl+U. The photo becomes black and white.

How to make a black and white photo expressive
Now from the same photograph we will make a black and white photo, but more expressive. Select a photo and open it in Photoshop.

The settings window will automatically open in “Auto” mode. There you will see a gradient for each individual color. On these gradients, you can move the slider to the dark or light side. This way you will make each individual color lighter or darker.

So, by moving the yellow and red color sliders to the left, you can achieve lighter tones of gray on the skin. Shifting to the right will give darker tones. To darken the background, you need to move the color slider to the right, which matches the background shade. In this case - blue and blue. When shifting, watch the image so that no artifacts appear that spoil it. These are the settings applied to this photo.

Now compare the result of using the function Desaturate(left) and “Black and White”/Black&White(on right).


Notice how applying the adjustments helped achieve more detail in the shadows. The model’s face became more voluminous, and the gradient in the background became deeper and softer.
How to turn a black and white photo into color in Photoshop
While the process of turning a color photograph into black and white is very simple, the reverse requires more painstaking work. It's not difficult at all, but it will take some time to achieve results.
For example, let's take a simple portrait. The photo processing time depends on the number of objects in the photo. The more there are and the more complex the background, the more time you will spend processing the image. The working tools will be an adjustment layer and soft white "Brush". Using an adjustment layer is very convenient if you want to turn a black and white photo into color. So, by changing the color on the adjustment layer, you can return to the initial stage and change the color settings.
Now let’s take a closer look at how to make a black and white photo in color in Photoshop.
Open a black and white photo in Photoshop, press the keyboard shortcut Ctrl+J to create a duplicate. You should immediately save our work in psd format. Click Shift+Ctrl+S, in the window that opens, set the file name, path for location and select psd in the file type.
Since we will be working for a long time, press the keyboard shortcut more often Ctrl+S ("Save"), so as not to lose your work.
Step onto the duplicate layer and apply an adjustment layer to it “Hue/Saturation”/Hue/Saturation. You can call it up in the list of adjustment layers by clicking on the image of the half-filled circle. It's located in the lower right corner, on the layers palette (where you work with layers).

First of all, we paint the skin. In the adjustment layer settings window that opens, check the box "Toning"/Colorize, move the color tone slider towards red and yellow. also in positive side(to the right) move the saturation, reduce the brightness a little. This way we will achieve a shade similar to the natural color of the skin.

Now place the cursor on the adjustment layer mask and press the keyboard shortcut Ctrl+I. The mask will be inverted and the effect will visually disappear.

Choosing a tool "Brush" by pressing a key B. On the control panel in the attributes, select a soft brush; leave pressure and opacity at 100%; We reduce the hardness to zero. Brush color is white. You can adjust the diameter of the brush stroke using the keys X And Kommersant(they are [ And ] ).

We select right size brushes and paint over all areas of the skin. We work on the adjustment layer mask. To make it more convenient to work, the image can be zoomed in or out. To do this, hold down the key Ctrl and while holding it, press either + , or – until you select the desired scale. To cancel unwanted actions, press the combination Ctrl+Alt+Z. We will paint the lips and tongue separately, on different new adjustment layers, since they have a more pink tint.

After the skin is processed, go to the layer with the duplicate image and apply an adjustment layer to it again “Hue/Saturation”/Hue/Saturation. Click the check mark "Toning"/Colorize. But this time we will shift the color tone towards pink to tint the lips.

Step onto the adjustment layer mask and click Ctrl+I. And, remaining on the layer mask, paint the lips with the same white brush.

To avoid confusion, adjustment layers can be renamed according to the area of the image (lips, skin, cap). To do this, double-click the left mouse button on the name of the adjustment layer, it will highlight in blue. Then simply enter the new name using your keyboard and press Enter.

You can cancel an unsuccessful painting not only through Ctrl+Alt+Z. Change the brush color to black and work over the area with a black brush. This will act like an eraser, but the mask will remain intact. To quickly change the brush color from white to black and back, click the corner arrow above the working color swatches in the toolbar.

So, adding new “Hue/Saturation” adjustment layers, we repeat all the steps with them:
- tick on "Toning"/Colorize;
- color selection by moving the hue, saturation and brightness sliders;
- Ctrl+I, invert the mask;
- Remaining on the adjustment layer mask, paint over the desired area of the image with a soft white brush.
Choose the colors of clothes and hair at your discretion. If in the end you are not satisfied with the tone of any area, click on the adjustment layer corresponding to this area and move the sliders again, selecting the appropriate option. Don't forget to save often ( Ctrl+S).

Having done this work, you own experience make sure that turning a black and white photo into color in Photoshop is not so difficult.
Do you like cats? Then you will like this lesson, I'm sure! Oh, what am I talking about? I continue to atone for my guilt and try to write on the blog more often. Because, and I realized: “I haven’t done anything for 3 months.” Honestly? This confused me very much, and now I present this lesson to your attention!
So what will it be about? I’m sure each of you has seen photographs on the Internet where everything is black and white, but the object they want to highlight is left in color. Have you seen such photos? We saw it, I know. And today I will teach you, with joy, how to do this!
Shall we get started? Open and repeat after me
Step 1. We will work with a magic wand. It’s simple, select the eye with a magic wand (holding Shift), something like this:

Can be used not only magic wand, you can use, for example, lasso and other selection tools! The main thing is to highlight the object that you want to leave in color.
Step 2. Selected? GREAT! Now we press Ctrl+J, and thus we create a new layer with the eye, no matter how terrible it sounds. And now step 1 And step 2 repeat with the other eye.

Step 3. We work with the main layer, or rather, with our cat. Remember? Did I teach you earlier? It's time to use this skill! Yes, you understood everything correctly, let’s make the main background black and white!
And this is what we should get approximately:
BEFORE

AFTER

I hope you have now learned make part of a photo black and white in Photoshop. Or leave one object in color in black and white photography, it depends on what the situation is and how you look at it.
Good luck to you! If you have questions about the lesson, write in the comments.
P.S.: How nice it is to receive a scholarship